How I Fixed Some Problem Photos

I'd like to show you today how I fixed some problem photos.

My daughter frequently looks away when I snap her picture.

eyes_away

But, you see here that is no problem to fix using the liquify tool.

eyes_on_you

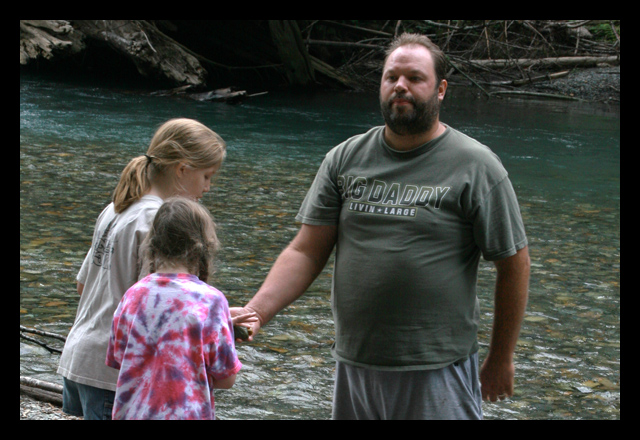
And, sometimes my husbands beard gets a little too long.

beard

No, problem, just use the clone stamp tool.

beard_short

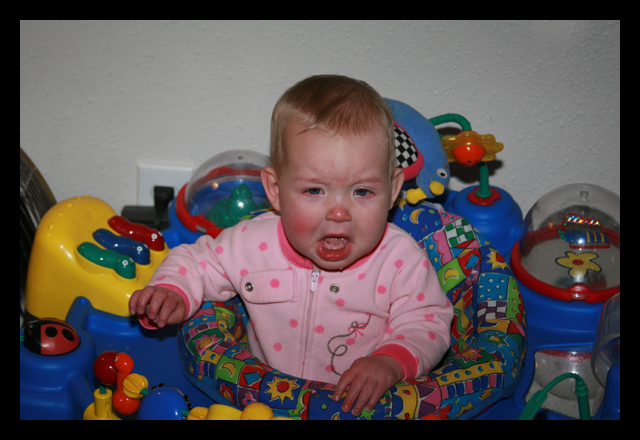
And sometimes my baby just looks a little too sad.

crying

Just copy her mouth from another photo, adjust the color and blend the edges, and it's fixed. Don't you think?

happy_face


If you made it this far and didn't navagate away from my page because you think I'm crazy that I think those are good fixes, well April Fools. :)

For more fixes like this head on over to iheartfaces.

fix_it_fools

Beginning Photography Advice - Cameras, Lenses, F-Stops, Shutter Speeds, and ISO

Beginning Photo Advice


I have been asked how I learned about photography or how to decide what camera is right for you. Here is some basic advice.

Books


Two starter photography books I recommend are: Understanding Exposure and Scott Kelby's Digital Photography Book. I would say Understanding Photography is the most substantive book of the two, and the Digital Photography is the most easy to read.

Cameras


I recommend getting a Canon or Nikon digital SLR. You would do fine with the latest Canon Digital Rebel. I have seen photos from that camera which are just fantastic. You could also use a non-SLR - as long as it is a high quality camera and also has some manual settings, like the Canon Powershot G10. Take a look at this guy's photos taken with the Canon G1 (the original predecessor to the G10).

The main advantages of a digital SLR is flexibility of being able to add lenses, being able to focus your lens manually, and being able to instantly take a picture of exactly what you see. When you press the shutter it takes a picture instantly - and what you see through the viewfinder is straight through the lens. But don't limit yourself by your budget. Through B&H the Canon G10 is currently $439.95. You can get a Digital Rebel, camera body only (the full deal, it comes with accessories, it just doesn't come with a lens) currently for $599.95 (free shipping). Then you can add a Canon f1.8 50mm lens (known as a great bang for your buck lens - has good optics even though it's not a pro level lens) for only $89.95.

If you aren't so limited by your budget I would recommend a Canon 50D - currently going for $1,149.95, free shipping, body only. I currently own a 30D, which is one of the 50D's predecessors.

If you really aren't on a budget, get the Canon 5D Mark III. It's awesome, especially for low light situations.

I would recommend buying through B&H if buying online. They offer a great price and great service. When we were researching cameras, we discovered that many low-price on-line stores, really only send you the camera with no accessories and are sketchy in other ways too. If their prices are lower than B&H, be skeptical.

Lenses


Lenses are the real mysteries to the aspiring photographer. To tell the truth, I think I regret one of my lens choices. I have two lenses - one Canon f3.5 28-135mm with image stabalizer and one Macro f1.8 60mm lens. If I can get close at all to a subject, I prefer my macro lens - which I really bought to take pictures of small products, not people. My macro isn't considered a pro series lens (L series), but it's darn close and takes crisp photos. The other lens I have I thought I was going middle of the road with - and I was hoping for decent results. At the time I paid extra for the lens over the standard setup for it's moderate zoom capabilities. And it was a f3.5 rather than an f4 (generally speaking the lower the f-stop rating the better. But, it's only an f3.5 at 28mm and the lens isn't too sharp or precise. I can totally tell just looking through the viewfinder of my Macro versus my Zoom lens that my Macro lens is sharper. It's kind of like putting on a new pair of glasses. The difference is noticeable.

I think there are two, possibly three other lenses I would want. One is an L series telepohto zoom lens - something that has sharp optics and goes up to 300mm for shooting wildlife. That's a very pricey one. The second and third lens are the L-series wide angle lens for landscape shots and an f1.4 50mm Sigma or Zeiss lens for those really sharp, background blurred potraits.

Recommended Starter Lens


But, if I were to recommend a starter lens with good bang for the buck, I hear you should go with the Canon f1.8 50mm which is currently only $89.95. It's known for sharp pictures and it lets in a good amount of light.

What's that f-stop thing?


f-stop = aperature = depth of field = ring of light

The f-stop is the ring that opens up your camera and lets in more light. The wider that ring of light the narrower your depth of field.

A wide ring of light equals a smaller f-stop number. So an f1.8 lets in a lot of light. Whatever isn't in the center of your focus is quite blurry. With an f1.8 you can also take more pictures in lower light because it gives you more light. This is the dance between shutter speed and the ring of light. If you have more light, your shutter speed can be faster, so movements aren't blurry.

A high f-stop number - say an f32 - lets in only a narrow bit of light. It causes most all of the picture to be in focus. You use this a lot for landscape photography, or pictures of people at a beautiful or historical setting. It's all in focus.

What is shutter speed?


Shutter speed is simply how long your shutter is open, or how long your "digital film" is exposed. If your shutter is open a long time and your subject is moving you get a blurry subject. If your shutter is only open for a very short time, you get a sharp subject. Shutter speed can range from hand-held, to 30 seconds (30"), to 8000 (which is really 1/8000") - at least on my camera. To freeze that hummingbird or that motorbike, you need a fast shutter speed like 1/8000", which means you need lots of light both from your environment and from your lens.

What is ISO


ISO is the third way your Digital SLR handles light. In creative modes, you can adjust your ISO by hand. If you're old enough, you might remember different types of film you could buy depending on the different lighting situations you might shoot at. You might buy 100 ISO, 200 ISO, or 400 ISO. The higher the ISO the more expensive the film. The high ISO film would allow you to shoot in lower light. But, there was a downside. It was grainier. The same holds true today. 100 ISO will be the clearest. 1600 ISO will be quite grainy, especially in the shadows. And, if you get that coveted 5D Mark III Camera - you will be able to shoot at 6400 ISO and it will be passable (although still grainier than low ISO settings).

Other Topics


There are a lot of other basic photography topics to cover, but I will have to put those in a future tutorial. The above topics, I believe, are the most important topics, especially if you haven't chosen your camera of choice yet.
Iheartfaces Pout


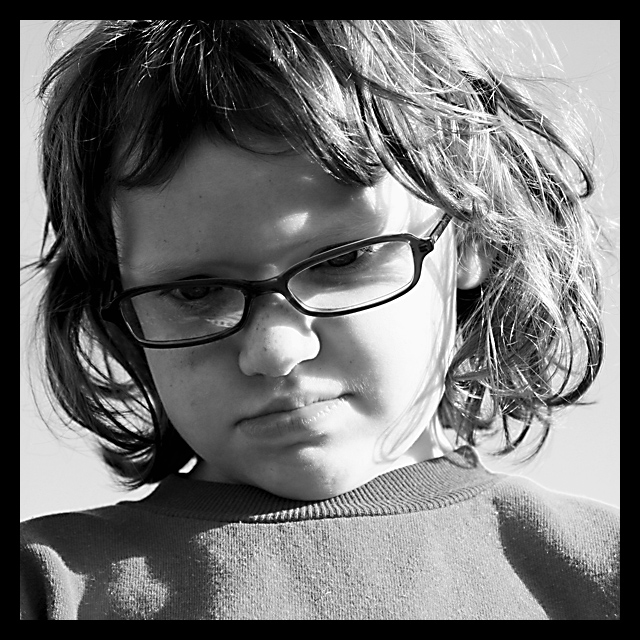
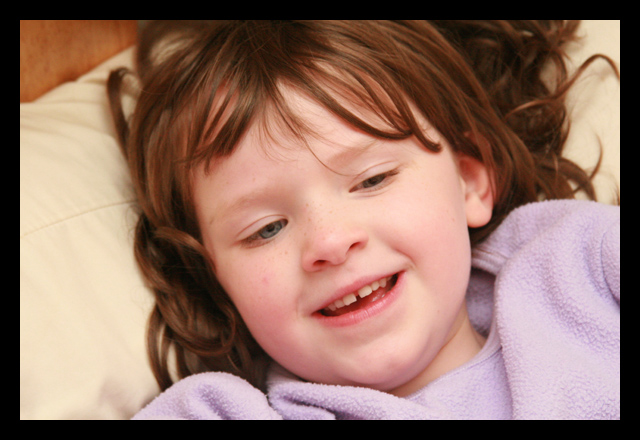
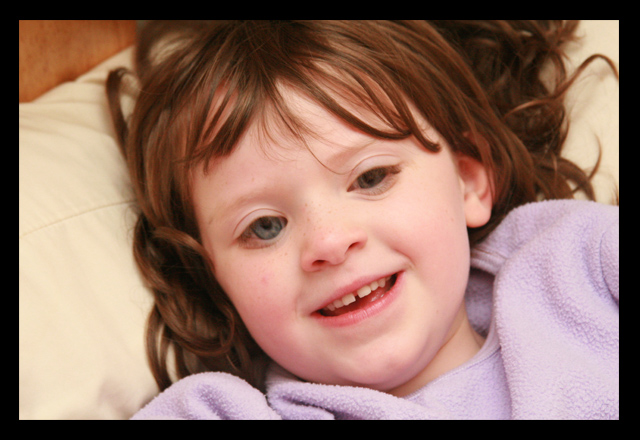
Here is my post for this week's iheartfaces's photo contest - pouting.

This was an all body pout. Notice the lovely haircut she did herself!

pouting

Adding Sparkles To Your Elvish Photos

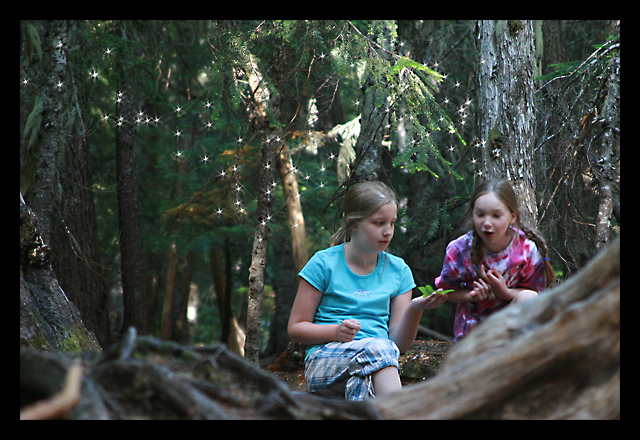
A blogging friend of mine recently told me how to add sparkles to my photos. I had to find just the right kind of photo to add the sparkles to. Now, this photo isn't the best technically - my focal point is off. I took it when I tended to use automatic focus more - which in a forest like this just won't work. But I love the girls' expressions. Enjoy.

nymphs_in_the_forest

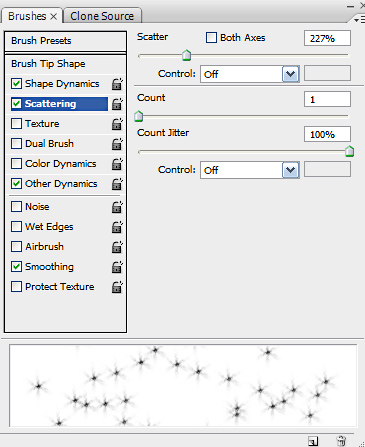
How to do it. Go to brushes. Choose a star brush. Choose a size that fits your picture. I chose 92 and was working with a 1500px x 1000px picture. Click on the brushes palette button. brushes_palette_buttonAdjust the count, scatter, and jitter to your liking. Count and scatter are located under scatter. Jitter controls are located under scatter, but also under other dynamics. I turned my opacity jitter (located under other dynamics) to 0.

brushes_palette

Snow

Just a quick post about this picture.

I was experimenting with the concept I've been using for converting black and white images, but without converting them to black and white. I went to channels and selected a color channel, then CTRL-clicked the thumbnail, then selected the inverse. I then went back to the layers tab and added an adjustment layer - selecting solid color, black. This created a really nice effect I thought. I also played with curves of course, and I altered the saturation of the image one color at a time.

looking_at_snow

Fix It Friday


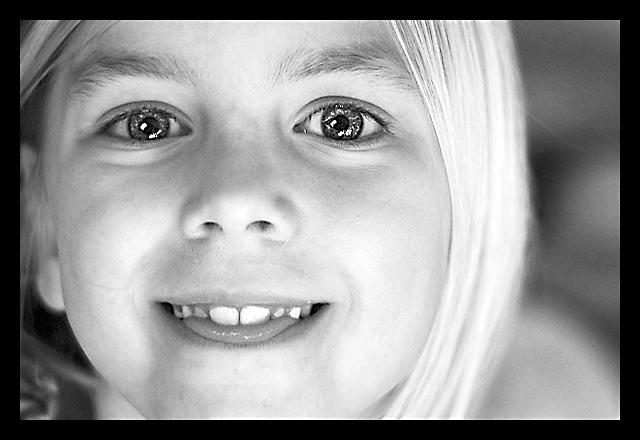
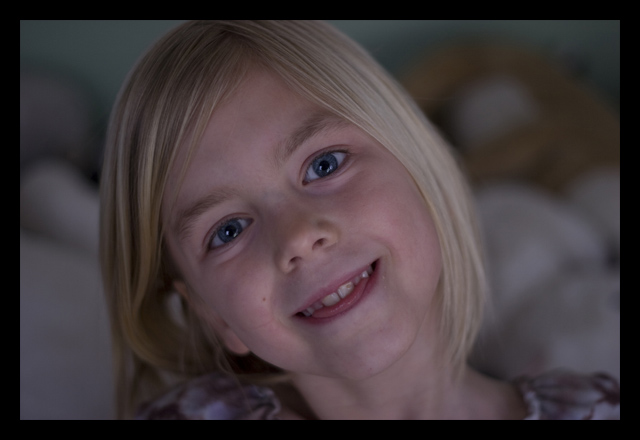
Here are two more fixes. Converted to black and white - one I kept the blue of the eyes, but lowered the opacity.


beautiful_blues_fixed_4

beautiful_blues_fixed_3

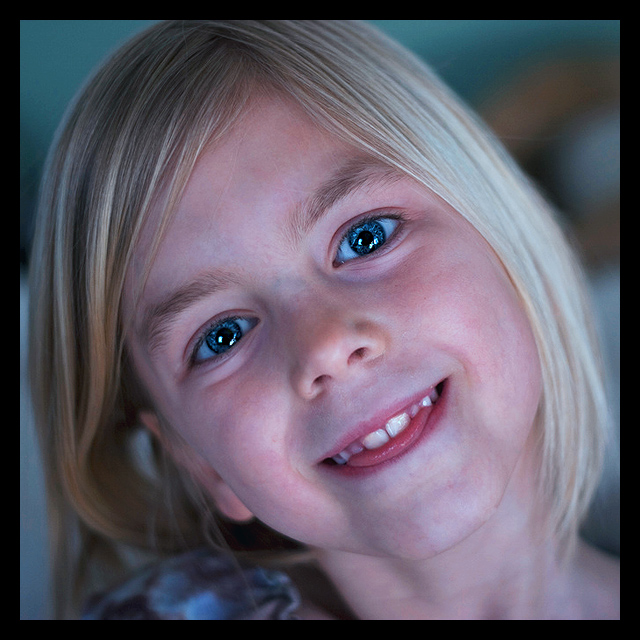
I did a second fix of the photo. I can't explain what I did differently except when I did a layer to sharpen the eyes I also fixed the layer for intense blues in the eyes. Then I painted in just the eyes on that layer using a layer mask. Then I adjusted the skin tones a little at the end. I also rotated it and cropped it. Here is my second fix:

beautiful_blues_fixed_2


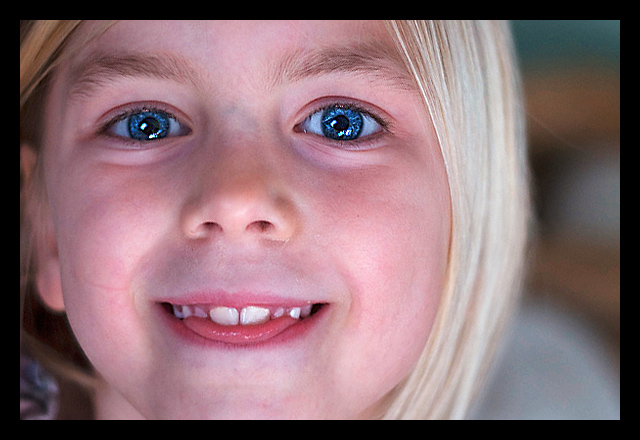
iheartfaces.com hosts a weekly challenge to "fix" a photo. This weeks photo is entitled "beautiful blues". So here is my fix:

beautiful_blues_fixed

This is my fix.

beautiful_blues_orig

This is the original.

I won't totally take you step by step through what I did, but here is a summary:

I applied several adjustment layers - curves, levels, color balance, channel mixer. I combined my layers. I applied sharpen to one layer just for the eyes. Then I created a layer mask using alt-the layer mask button (circle inside a square on your layers palette), and I painted with white just over (the dark part of) the eyes. I combined the layers and used the spot healing brush on little spots of food on her face and teeth. Then I applied a final sharpen.

Black & White Baby Portrait

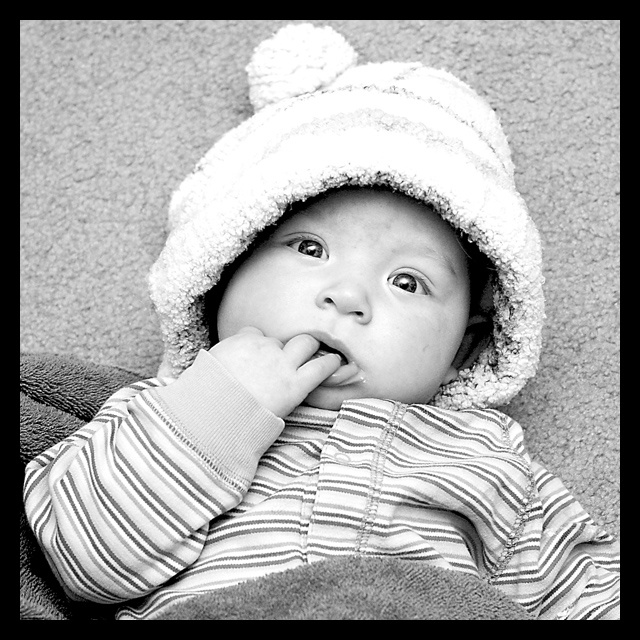
I've recently learned a new technique for converting images to black and white. And I am just in LOVE with it! I could spend days and days just converting old favorite images to black and white. And, although I could probably come up with an action for a small part of the conversion, really it is very individualized, so it's labor intensive (a labor of love). Here is a pic I just converted. It was one of my favorites that I took of my youngest when she was a small baby.

abigail_baby_hat

Here is the converted image.

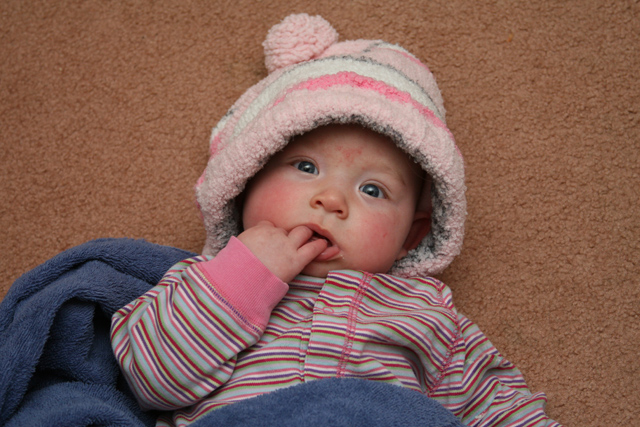
abigail_hat_baby_orig

This is the SOCC (straight out of camera) version.

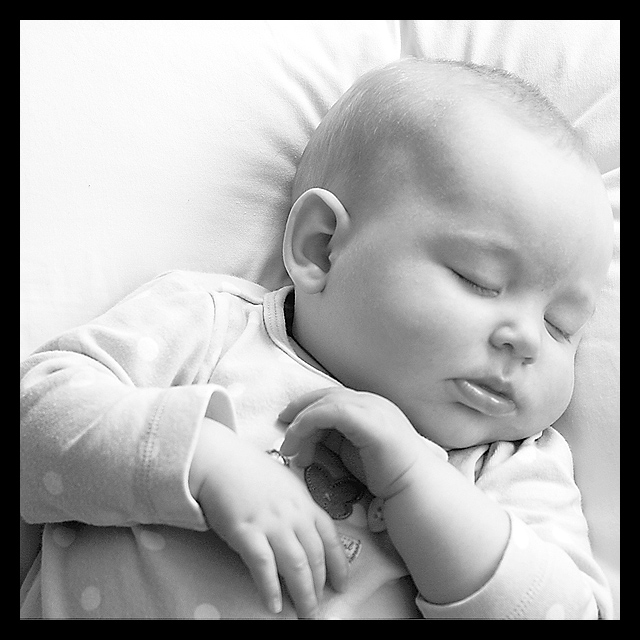
baby_sleeping

Here is another image converted to black and white with this method.

Here is how to do this type of conversion (I used Photoshop CS3):


  1. Select Image > Mode > Lab Color
  2. Click on Channels in the layers pallette
  3. Select Lightness
  4. Select Image > Mode > Grayscale
  5. When Photoshop asks you if you want to discard other layers, click Yes
  6. Go back to the Channels tab and CTRL-click on your thumbnail image
  7. Choose Select > Inverse
  8. Choose Image > Mode > RGB Colors (this allows you to have more options for altering your image)
  9. Click on the layers tab
  10. Select New Fill or Adjustment Layer (the half white, half black circle at the bottom of the layers palette), then choose Solid Color. Choose black as your color (#000000). You can alter the opacity of this adjustment layer to suit your liking. You can do this now and/or later.
  11. Select New Fill or Adjustment Layer, then choose Curves. Make a slight S-curve to your liking (pull the bottom half of the curve slightly to the right, the top half of the curve slightly to the right. This increases the contrast.

    You can also alter the opacity of this layer later if you want to your liking. If you move your mouse over the word opacity, it becomes a hand with an arrow and you can slide the opacity of any layer to tweak the effect to your liking.
  12. Select New Fill or Adjustment Layer, then choose Levels. Adjust the levels to your liking.
  13. Once the image is to your liking, merge the layers.
  14. Now choose Filter &gt Sharpen &gt Unsharp Mask and sharpen in to your liking. My sharpens tend to be in the 150 (amount), 3 (radius), and 5 (threshhold) range, but what you choose for your sharpen totally depends on your picture and your tastes.


I just LOVE taking pictures. I have to watch out that it doesn't become an obsession. Part of the alure is the artistic component matched with the technical component. Now that I am understanding the basics of aperature (also called depth of field), shutter speed, focal point, steadying your camera, and ISO - I'm in heaven trying to get just the right shots.


Just a few months ago I figured out how to open and adjust my pictures in camera RAW - which for certain pictures like silhouettes and really blown out pics can make all the difference in the world.


Too, I've had access to Photoshop for a few years, but I've only recently gotten to the point in the learning curve where I can follow more advanced techniques. One of these techniques I just learned through a link on iheartfaces is to make a new layer and sharpen it specifically for the eyes - then apply a quick mask (which is alt the little square with the little circle in it - which for the life of me I never understood what that was for before), then you paint over the iris part of the eye to reveal the sharpening. That sharpens just the eyes - putting an extra sparkle in them - which is especially cool when you are starting with really contrasty eyes.


I know everyone isn't as into photography or Photoshop. But, it was Greek to me too when I started, and with persistence, I'm starting to pick up some things.


Really, I'd say when I switched to the 30D from my G2 there wasn't much difference in most photos. I got action shots better because the G2 didn't take instant pictures like a digital SLR, plus it didn't have a sports setting. But, even still, with all the knowledge I've gained, certain pictures I think turned out better with the G2 because it had an excellent lens (although small). I'm just saying this to say don't limit your photography by your camera. Sure if you have the $100 special from Costco, your options won't be so hot. But the Canon G10 goes for about $400 and is an excellent camera. The Digital Rebel (an SLR) runs about $700.

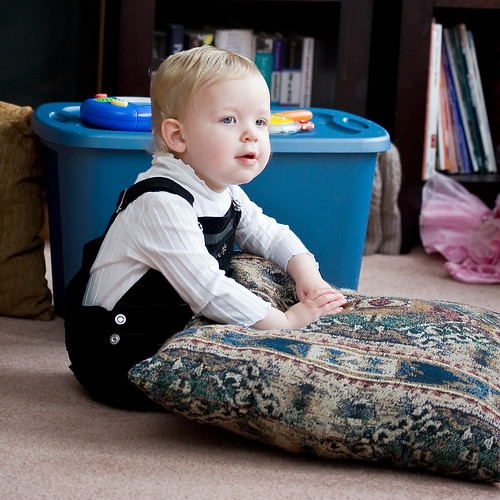
Here are some pics from our lazy Saturday. I hope you enjoy them.

always_moving


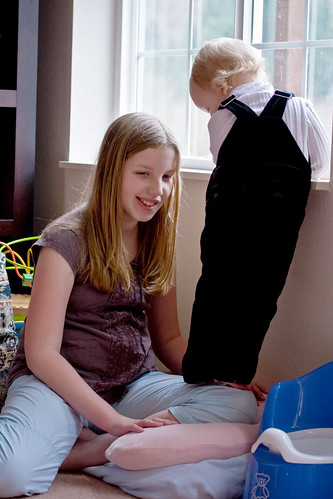
sisters

Love this sister shot.


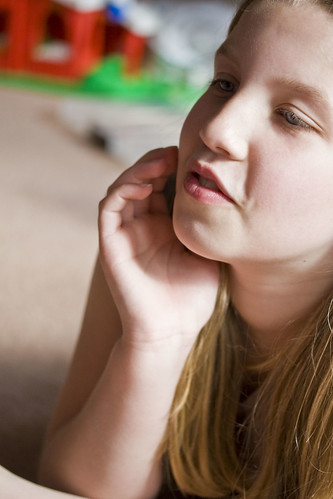
expressive

Expressive

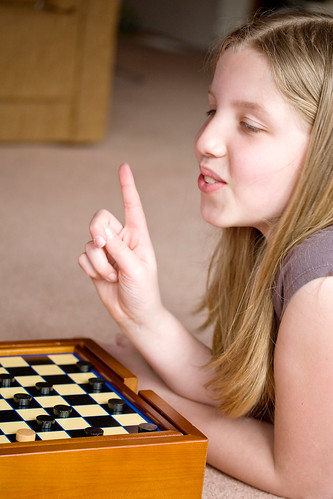
competitive

Competitive?

bokeh_girl

It's bokeh (the subject is out of focus), but I like it.

those_eyes

I love her eyes!